Found By Accident contains affiliate links and is a member of the Amazon Services LLC Associates Program. If you make a purchase using one of the Amazon links (or other affiliate links), we may receive compensation at no extra cost to you. See our disclosure policy for more information.
14 Easy Composition Hacks That Transform Your Travel Photos
Taking amazing travel photos isn’t about having the fanciest camera or chasing perfect lighting like you’re auditioning for the role of a weather van. It’s about nailing the composition so your photos don’t look like a random snapshot from your old flip phone days.
Anyone can point and shoot, but if you want photos that make everyone think you’ve secretly enrolled in a photography masterclass during your trip, it’s all about how you frame the shot. Good composition can turn your travel memories from “meh” to “wow, did a professional take this?”
Stick around, because we’re going to chat about ways to step up your game and make sure your travel photos do justice to the incredible sights you’ve seen. And hey, if you’ve got any genius photo tips of your own by the end, drop them in the comments.
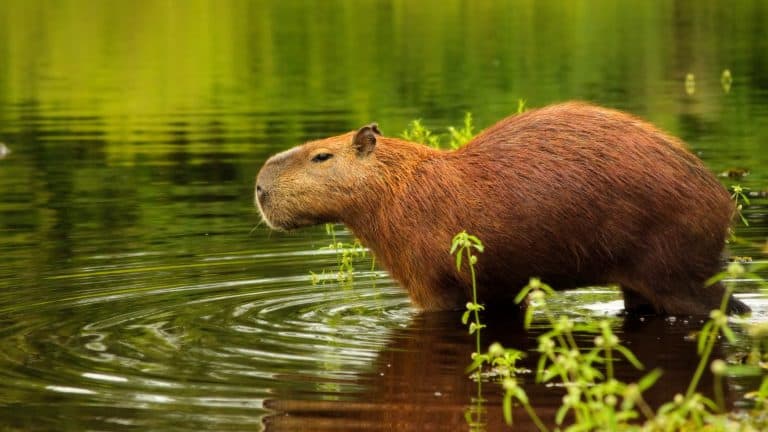
Include A Foreground Element

Flat, lifeless photos? No thanks. Give them a sense of depth by tossing in a foreground element. A weathered signpost, some flowers blowing in the breeze, or even a conveniently placed backpack can jazz up your shot.
The foreground gives your viewer something to focus on first before their eyes wander to the majestic scene beyond. Think of it like giving your photo a tiny stage with a spotlight moment for the supporting cast. Suddenly, your picture is alive, breathing… and begging to be printed out instead of just scrolling by.
Frame Within A Frame

Here’s a trick to wow your audience – trap your subject. Okay, fine, frame your subject. Doorways, arches, trees, caves, or anything with a natural opening can double as a frame within your photo.
It’s as if you’re telling the viewer, “Look right here! This is the bit that matters!” Framing not only adds interest but also brings depth and drama to the shot (without needing any melodramatic filters). Done right, this creative layer can turn a quick snap of a castle into “ooh, moody and mysterious.”
Use The Rule Of Thirds

Want to give off I totally know what I’m doing energy in your photos? Meet the rule of thirds, your new best friend. Picture your frame divided into nine equal parts by two horizontal and two vertical lines.
Now, place the stars of your shot (majestic mountains, a moody lighthouse, animal, or your travel buddy looking pensive) along these lines or their intersections. Voila! Instant artsy composition. Why does this work so well? Our brains are wired to love balance and visual flow, so your photo becomes naturally pleasing.
Look For Leading Lines
You know what’s not overrated? Guiding someone’s eyes where you want them to go. Leading lines are the slick backstage magicians in photography. Roads, rivers, fences, and even streams of light can direct attention straight to the heart of your photo.
Think of them as your secret traffic cop, gently nudging your viewer’s gaze toward that epic sunset or cool old bridge. Use them well, and your pictures will be a step above the rest. People might even think you spent eons wandering for the perfect shot. Joke’s on them… it’s just the power of geometry doing the heavy lifting.
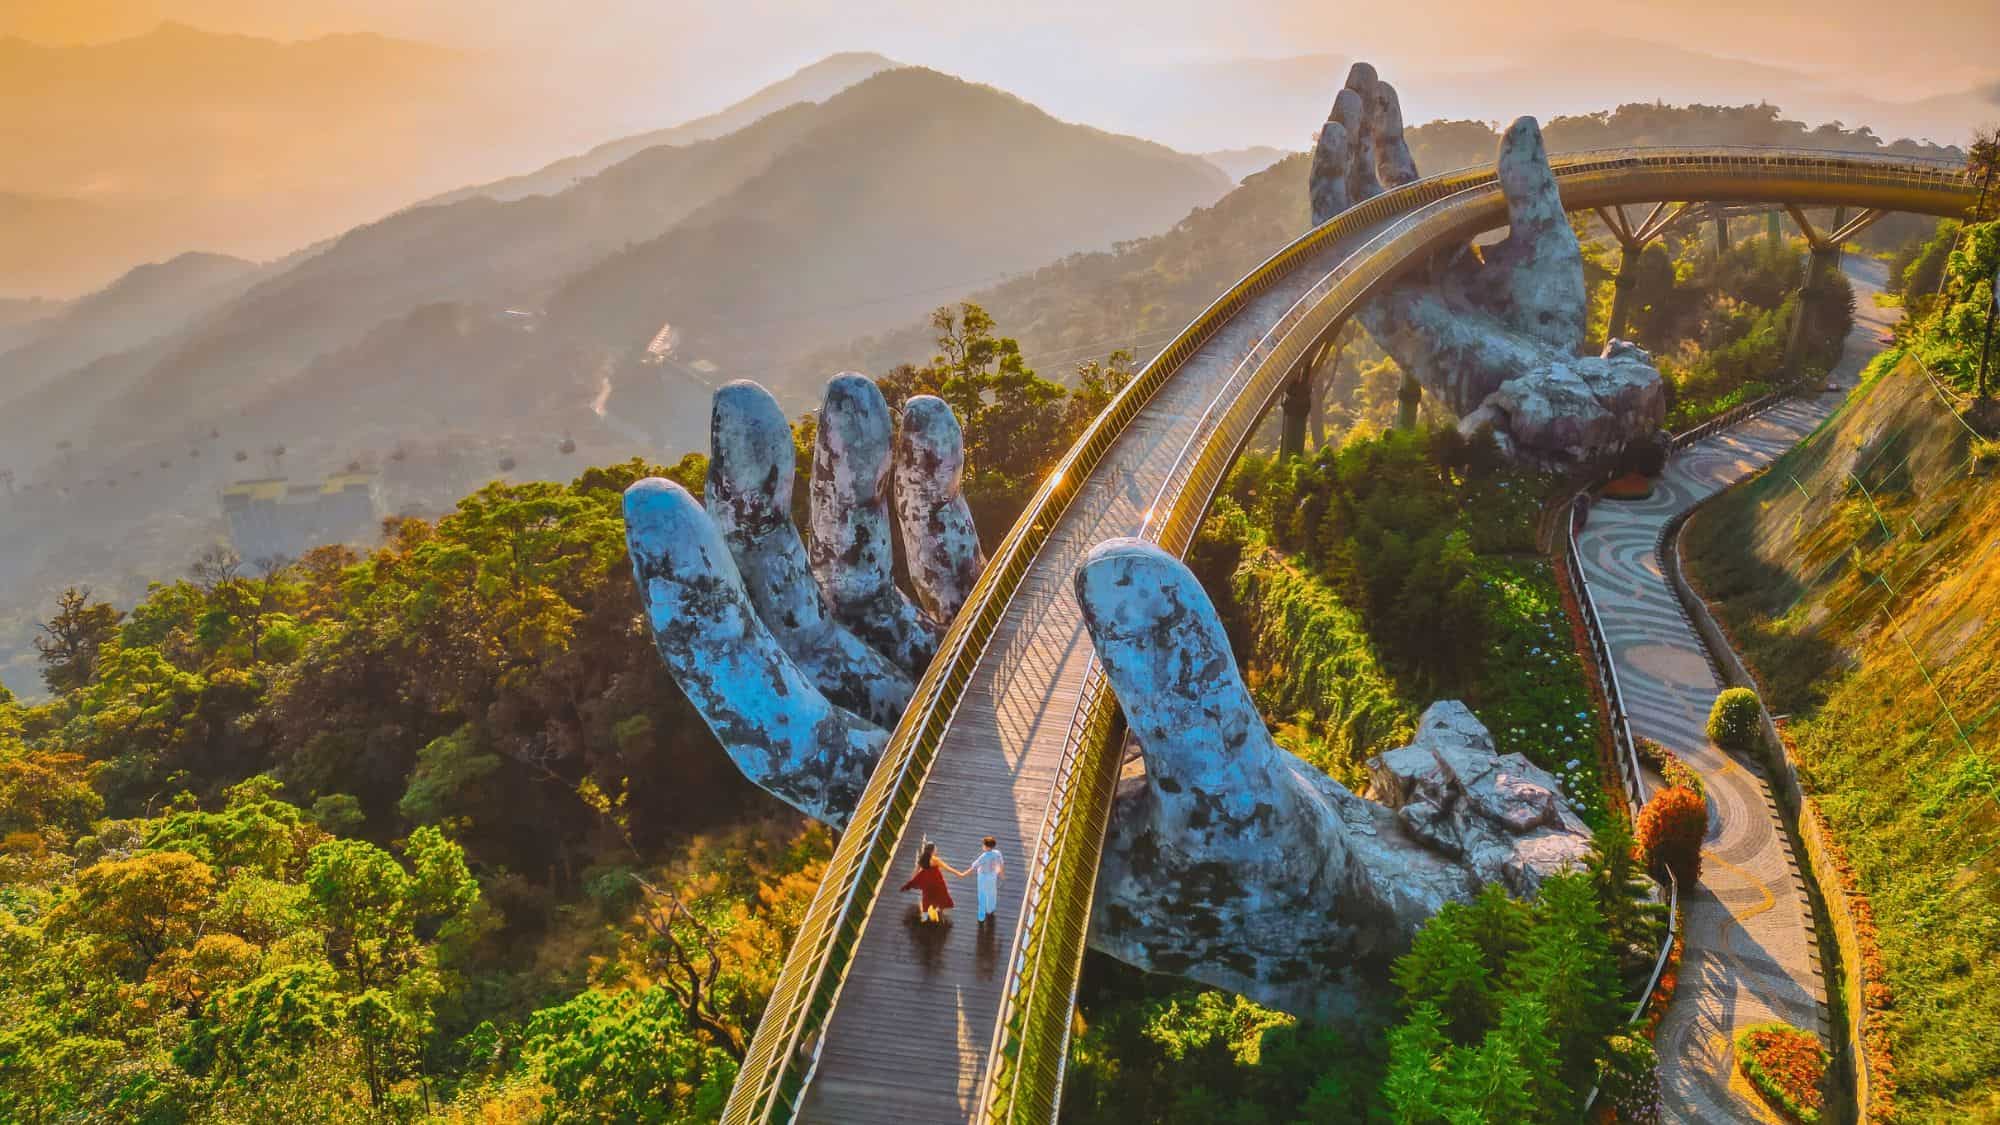
Change Your Perspective

Stop shooting everything from eye level – it’s boring! Go ahead, squat, climb, or lie on the ground. Channel your inner adventurer (or just someone who doesn’t mind getting their pants a little dirty). A wild new angle can completely change the feel of a photo.
A bird’s-eye view could make a bustling market look like a vibrant mosaic, while a shot from below turns a streetlamp into a towering skyscraper. Switching perspectives adds drama and worthy intrigue to your pictures.
Simplify The Scene

You know that messy room you don’t want anyone to see? That’s clutter. Now imagine that in your photos – it’s chaos. To make your subject shine, cut out the visual noise. Frame your shot so the viewer’s attention goes straight to the star of the show, not the photobombing trash can in the background.
Move things around, reposition yourself, or use your favorite editing tricks to clean things up. Sometimes, less really is more – which is a cliche but also annoyingly true. Minimalism doesn’t just make your photos look professional; it also saves everyone’s eyeballs from a sensory overload headache.
Find Patterns Or Textures
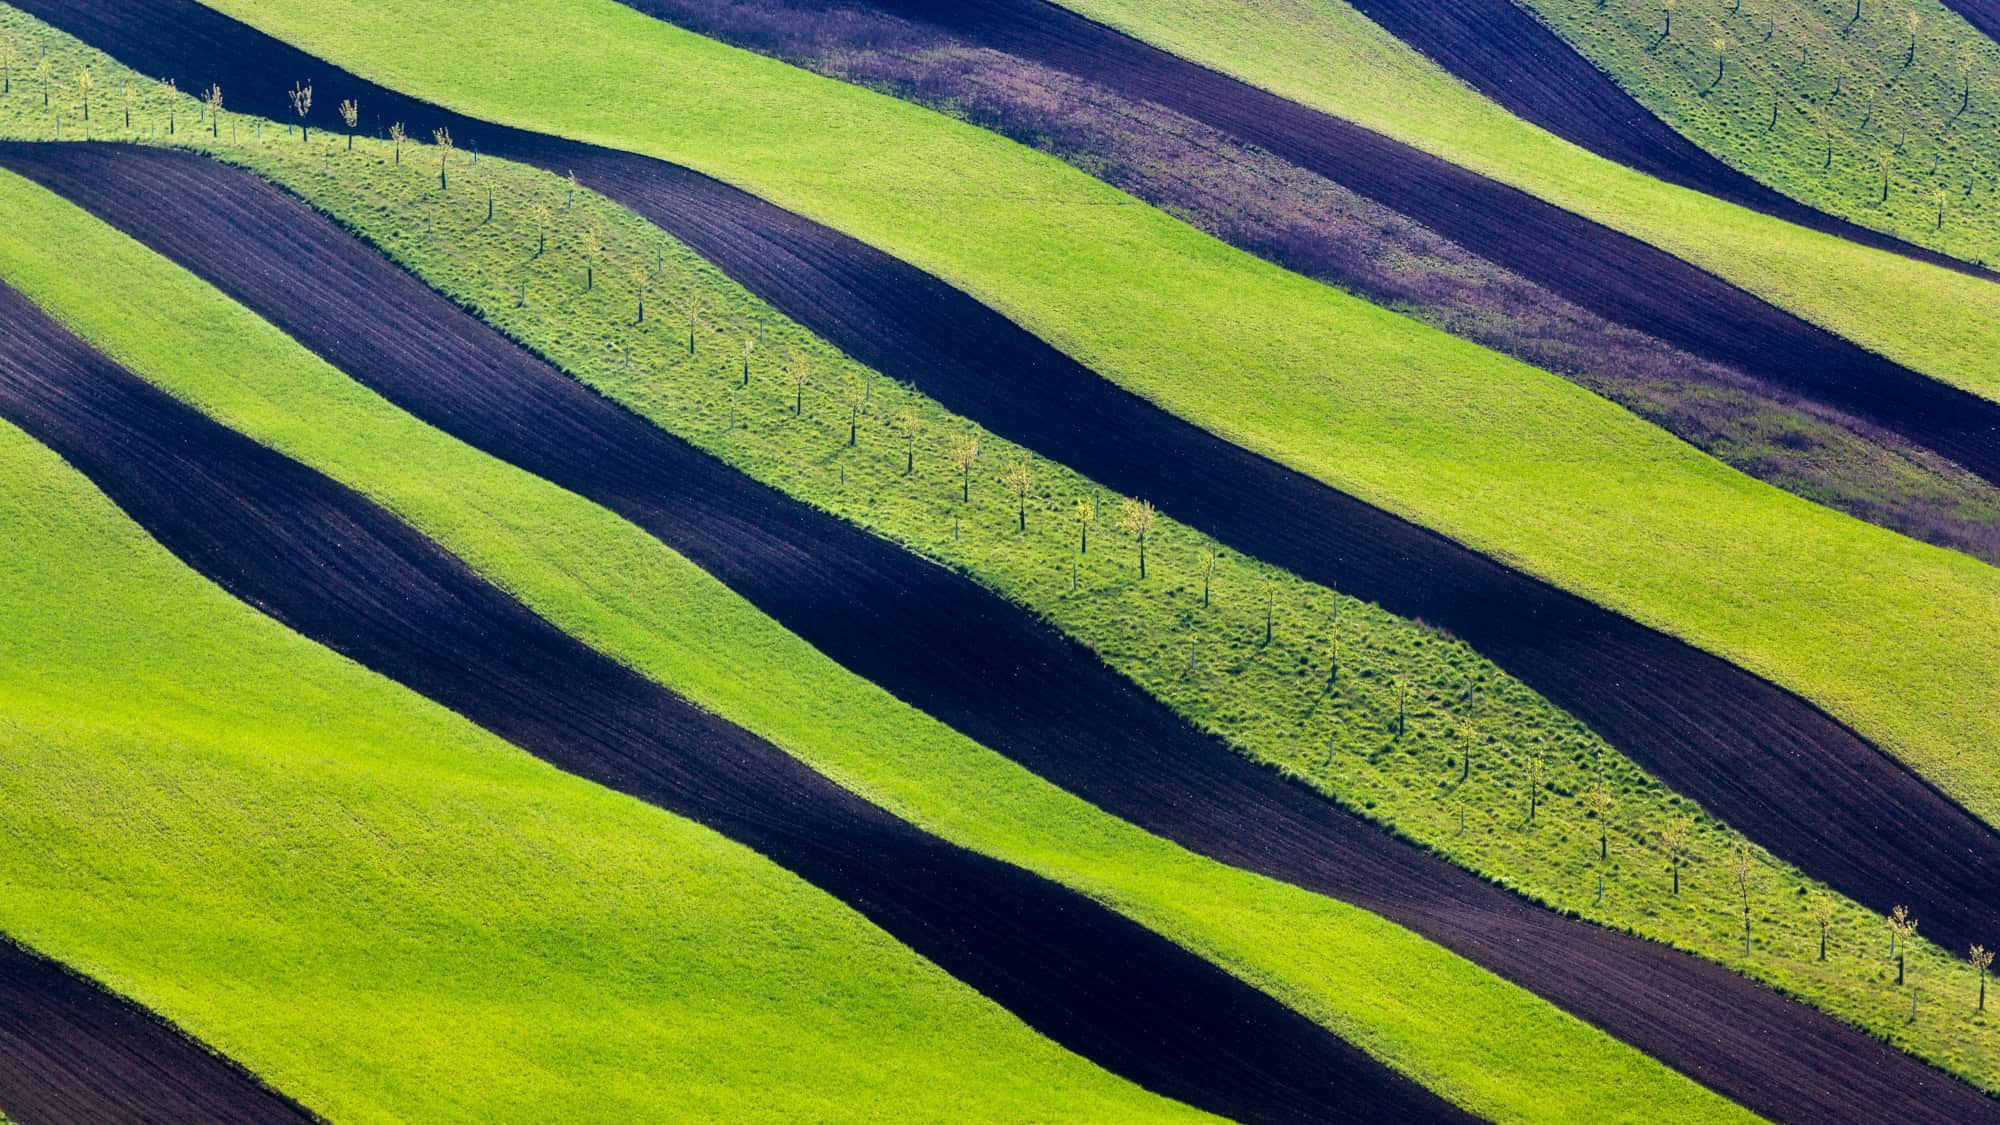
Patterns are nature’s way of showing off (or, you know, humans designing cool stuff unintentionally). Whether it’s rows of sunlit windows, a sea of tiled roofs, or even the cracks in a weathered sidewalk, these elements tell a story.
It’s even cooler if the texture makes people want to reach out and touch their screen – gritty walls, rippling water, or rough bark beg to be noticed. The trick is to find these hidden gems where others just see “meh.” Patterns and textures give your photo dimension, and somebody might even accuse you of being “artsy.”
Use Color For Impact
Color is emotional therapy for your eyes. A vivid splash of red amidst a drab gray landscape? Instant drama. A harmonious blend of teal and orange? Your photo just got 50% more interesting. Use bold colors to grab attention or pair complementary hues to create visual harmony.
Color isn’t just decoration – it’s the mood-setting soundtrack of your photo. Play with it enough, and someone may think you planned that shot for hours instead of stumbling into a good moment.
Incorporate People Thoughtfully
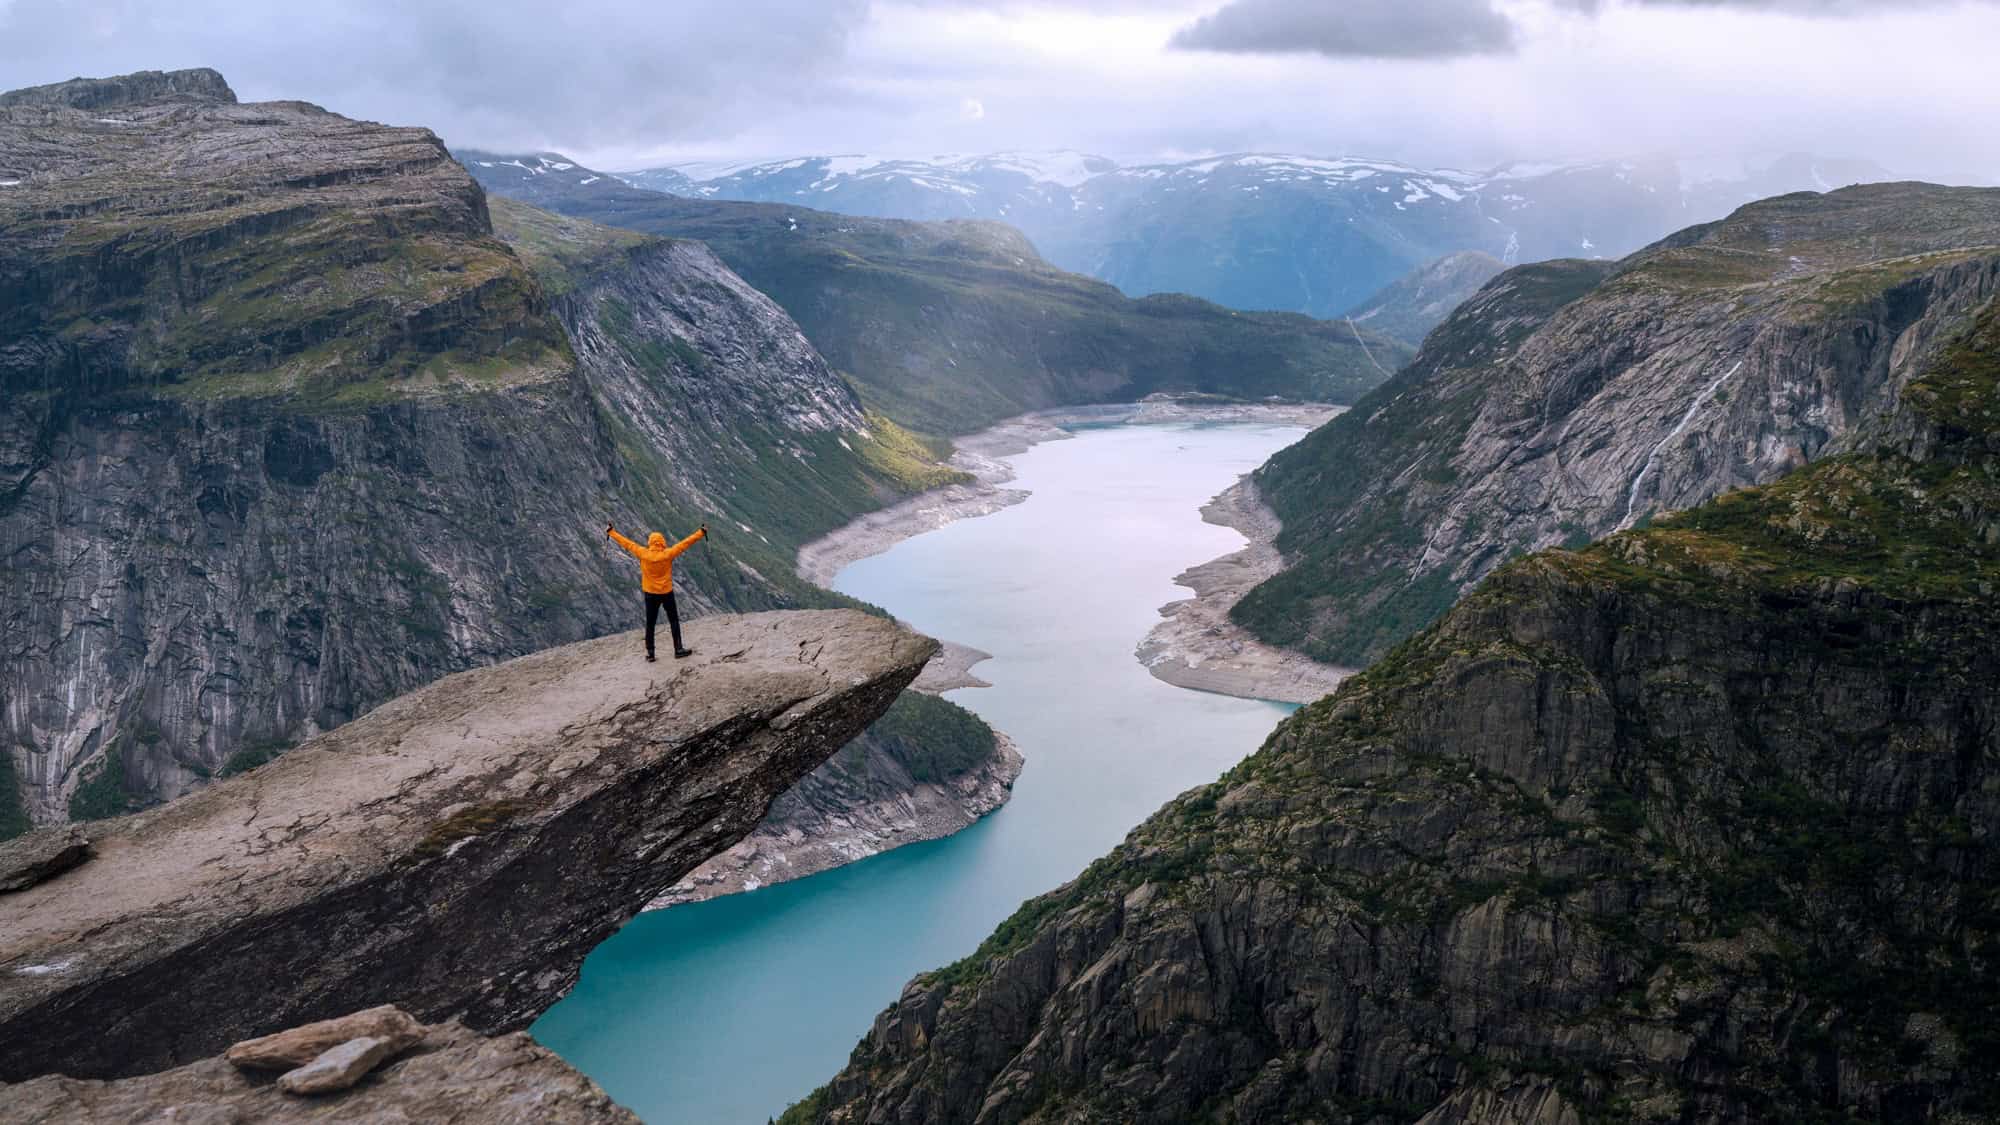
Adding a person in your photo is like sprinkling cinnamon on oatmeal – it doesn’t seem like much, but wow, what a difference. A tiny figure on a mountaintop? Feels epic; like they’ve conquered the world. A passerby strolling through your cityscape shot? Suddenly, your image tells a story.
The key is not overcrowding the scene; we’re going for “tasteful sprinkle” here, not an overcrowded crouton pile. Plus, people give the viewer a sense of relatable scale, helping them picture themselves there. Just make sure they’re doing something interesting (not scrolling through their phone) because nobody wants “bored tourist” energy in their pictures.
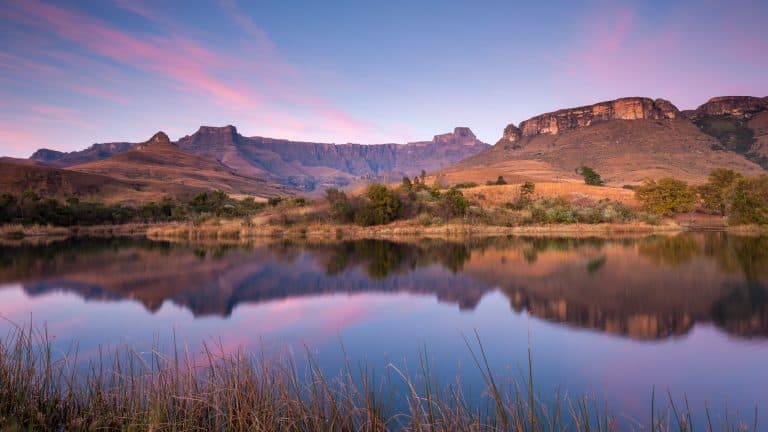
Mind The Horizon Line

Crooked horizon lines are the photographic equivalent of entering a tilted room at a carnival – you’re just waiting for someone to knock you over. Keeping the horizon straight isn’t about rigid rules; it’s about not making your viewers feel like gravity has taken a day off.
Know what’s even better? Choosing where the horizon falls in the frame. Low horizons give more prominence to the sky (cue dramatic clouds or sunsets), while higher horizons bring attention to the ground (perfect for landscapes or cityscapes). Worst-case scenario? You can always fix it later because straightening a photo is one editing move even your pet goldfish could handle.
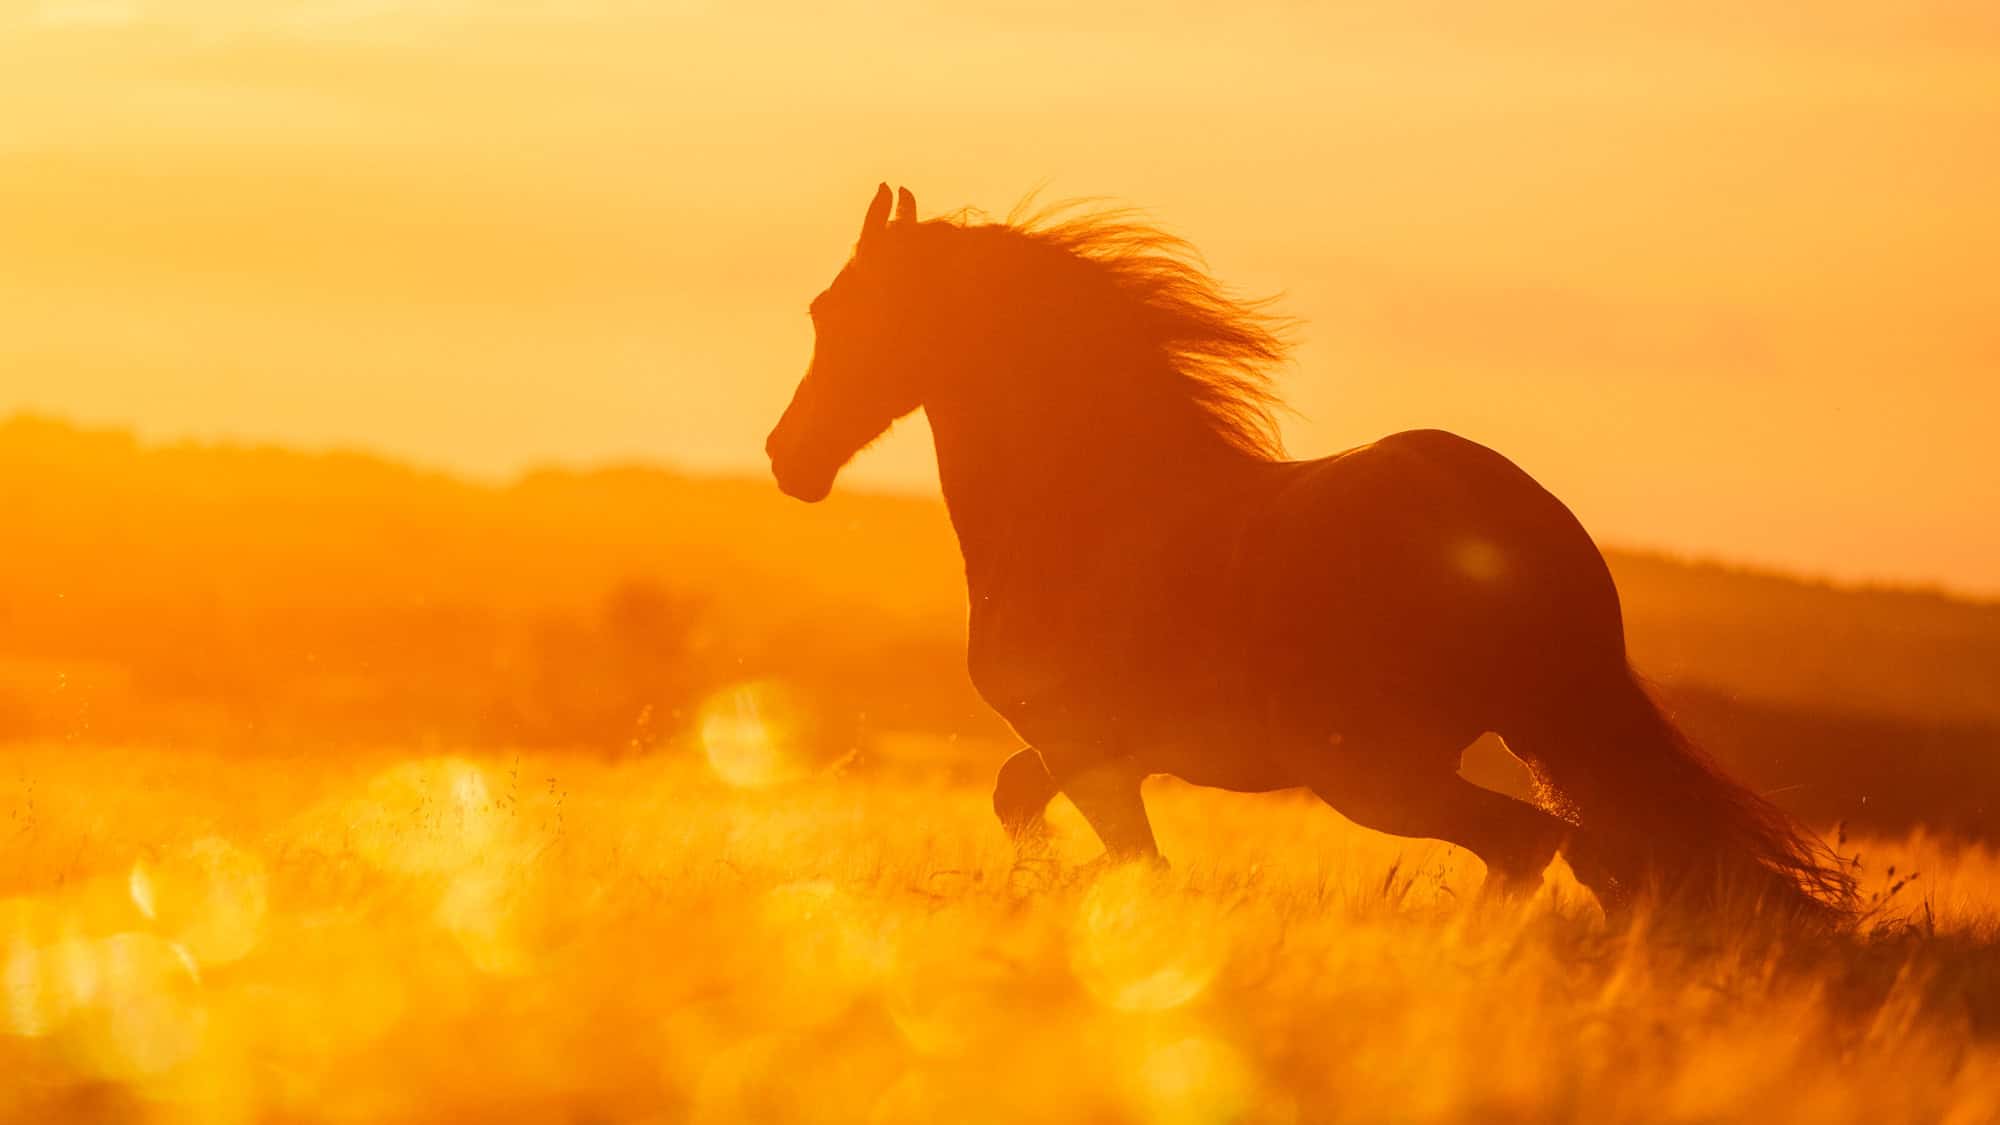
Use Shadows Creatively

Shadows aren’t just the poor cousins of light – they’re the unsung heroes of creating drama and intrigue. Harsh sunlight might seem like your enemy, but it’s actually your sneaky best friend. Those long, stretching shapes you see in the late afternoon? Turns out, they’re perfect for injecting some moody flair into your shots.
Try capturing shadows spilling across walls or sidewalks. And don’t get me started on shadows that mimic your subject’s shape; they’re the gift that keeps on giving. Just be careful – too much shadow can turn your masterpiece into something that looks scarily underexposed.
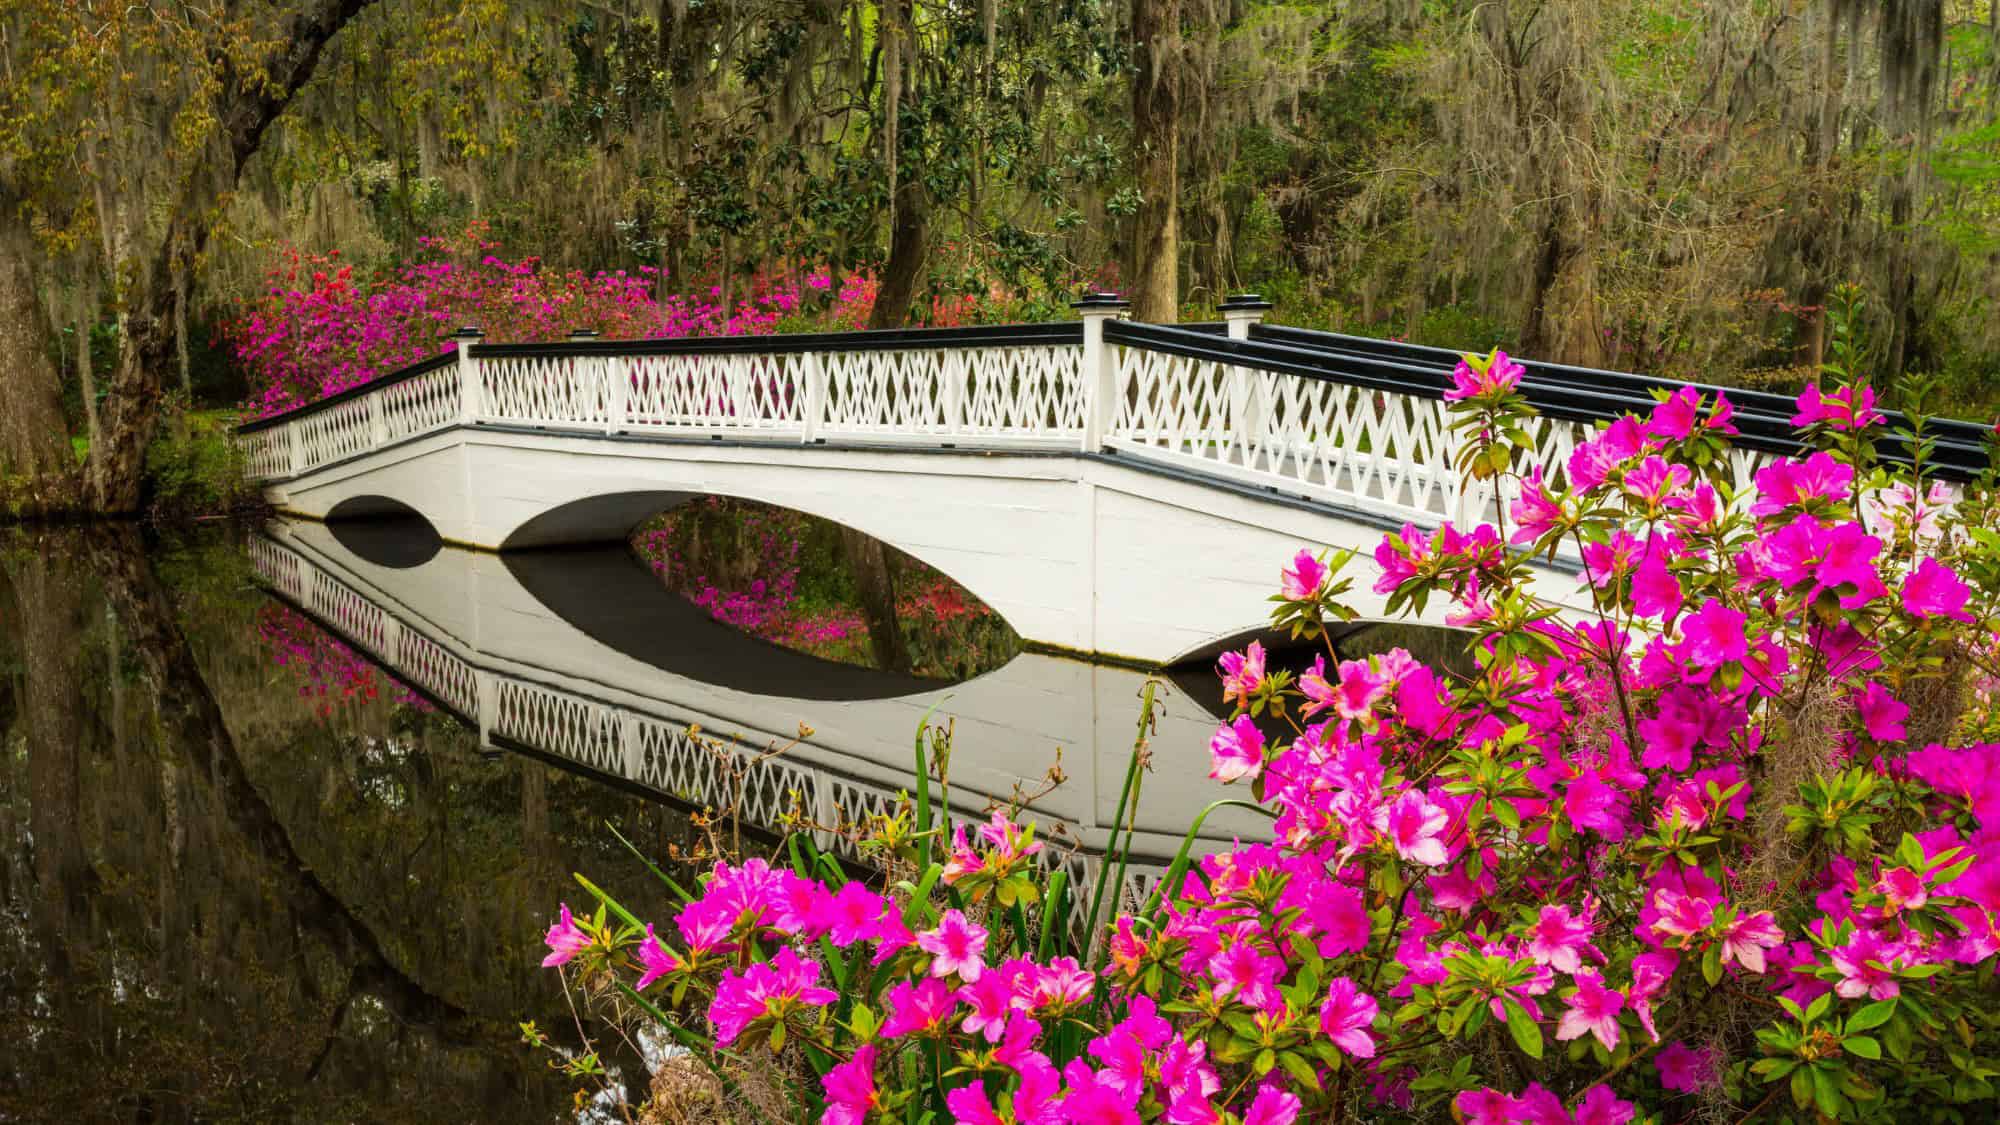
Play With Reflections
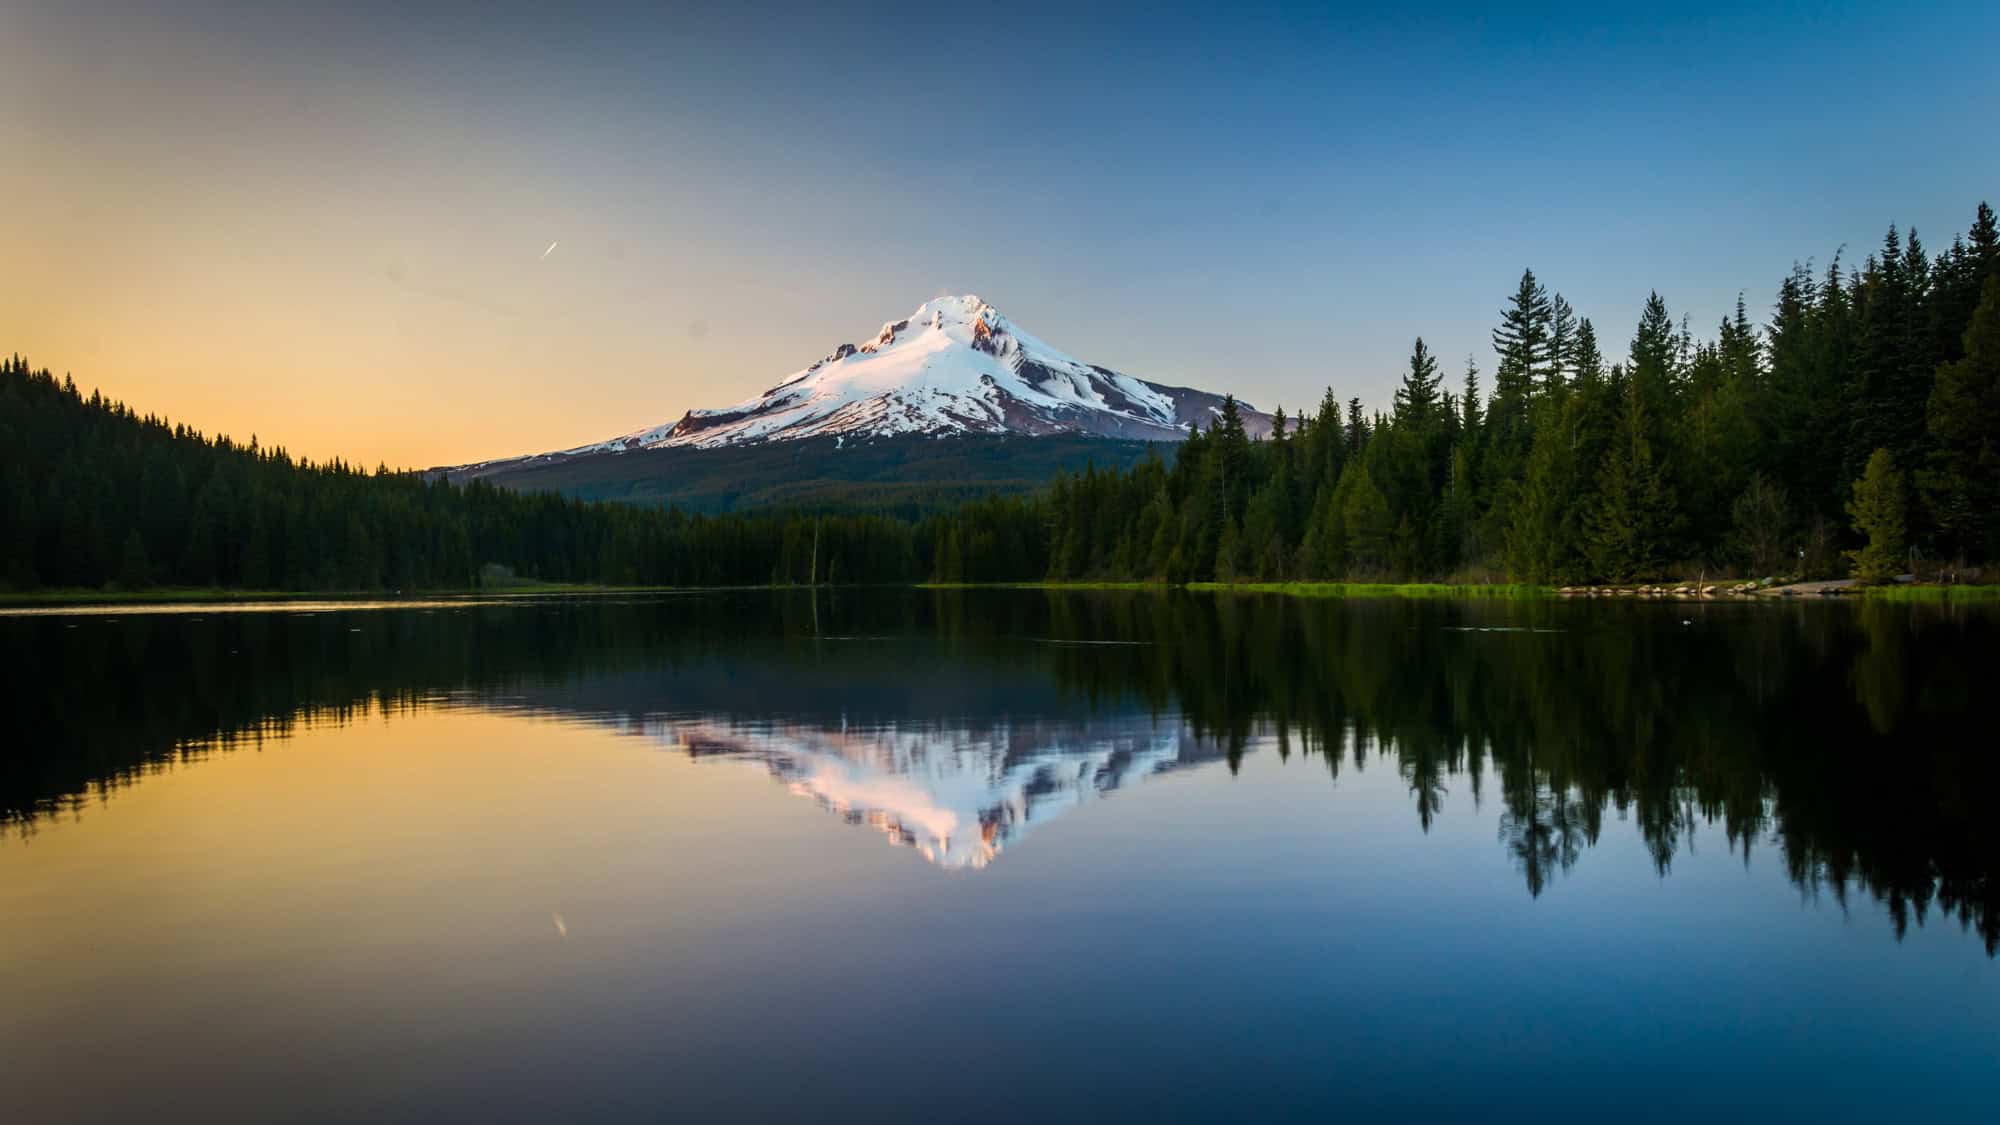
Reflections are like having a second chance at life… except, you know, for your photo. Pools of water, shop windows, even a well-polished table can all double your visuals and create layers. Instead of just snapping a boring skyline, use a puddle to reveal a whole upside-down world.
Reflections have a magical way of making your photos look cooler than you probably intended. It’s almost like tricking people into thinking you planned it. Watch your angles carefully, though; no one wants their face awkwardly wedged into the middle of the reflection where it definitely doesn’t belong.
Compose For Motion
Motion in a photo is fantastic – unless, of course, it’s unintentional blur, in which case, maybe consider a tripod. But planned motion? Genius. If your subject is moving, give them a bit of space to “walk into.”
Nobody likes seeing a glorious action shot where the star is about to slam nose-first into the edge of the frame. Whether it’s a cyclist cruising down the street or a dog leaping for a ball, motion adds life to your photos. Don’t overthink it; life moves, and so should your compositions.
Review And Crop Later

Here’s the thing – they’ll never know your photo wasn’t perfect straight out of the camera. That’s the beauty of cropping and editing afterward. Of course, I don’t mean don’t ever check how you are doing while in the field, just don’t spend so much time reviewing your photos that you miss the next shot.
Didn’t notice the trash can stealing focus in the corner? Crop it out like it was never there. Feel like you could nudge your horizon up a smidge to look artsier? Do it. Cropping lets you refine your masterpiece without the crushing pressure of getting it all in-camera. Just, you know, don’t take it too far… we’re here to enhance your composition, not accidentally zoom into pixelated chaos.
Like Our Content? Follow Us On MSN (or click the Follow Button above) to see more from Traveling In Focus.